 English
 中文简体
中文简体 Español
 عربى
عربى
-
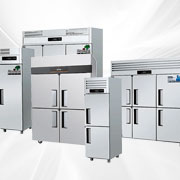
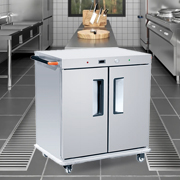
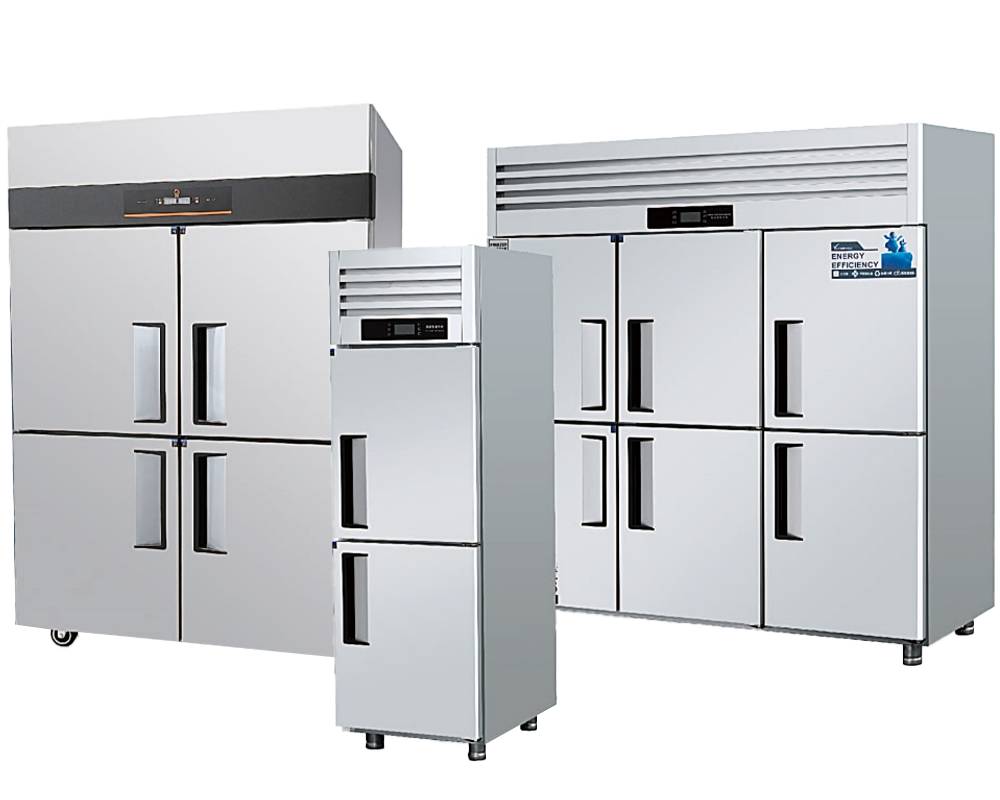 Commercial Vertical Direct-cool Stainless Steel Reach-in Refrigerator
-
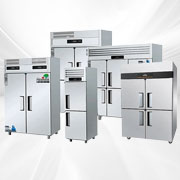
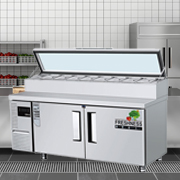
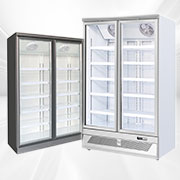
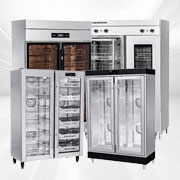
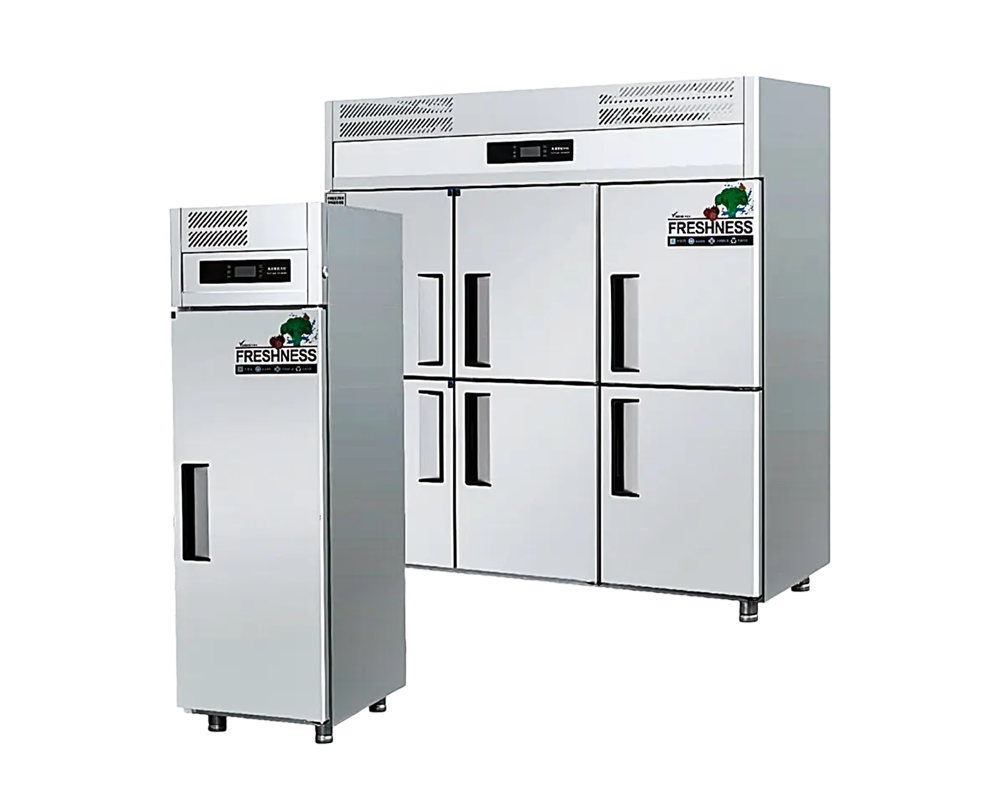 Commercial 201SUS Upright Air Cooling Reach-in Refrigerators
-
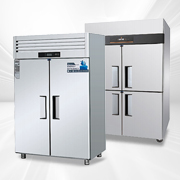
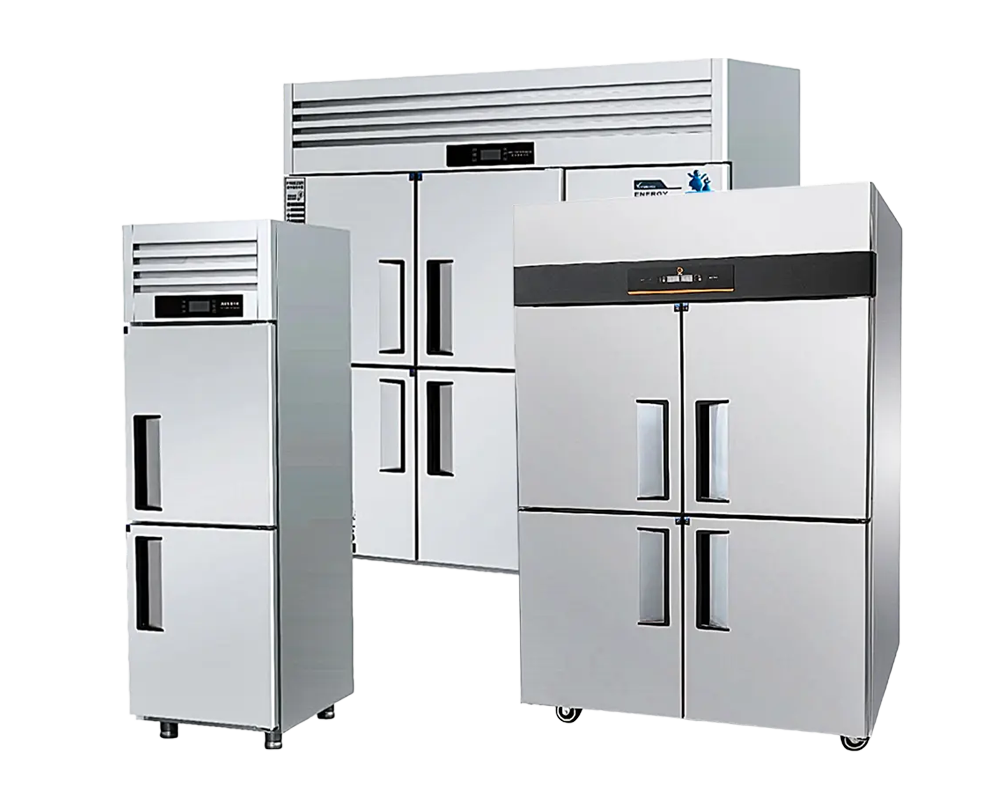 Commercial Direct-Cool Upright Reach-in Freezers
-
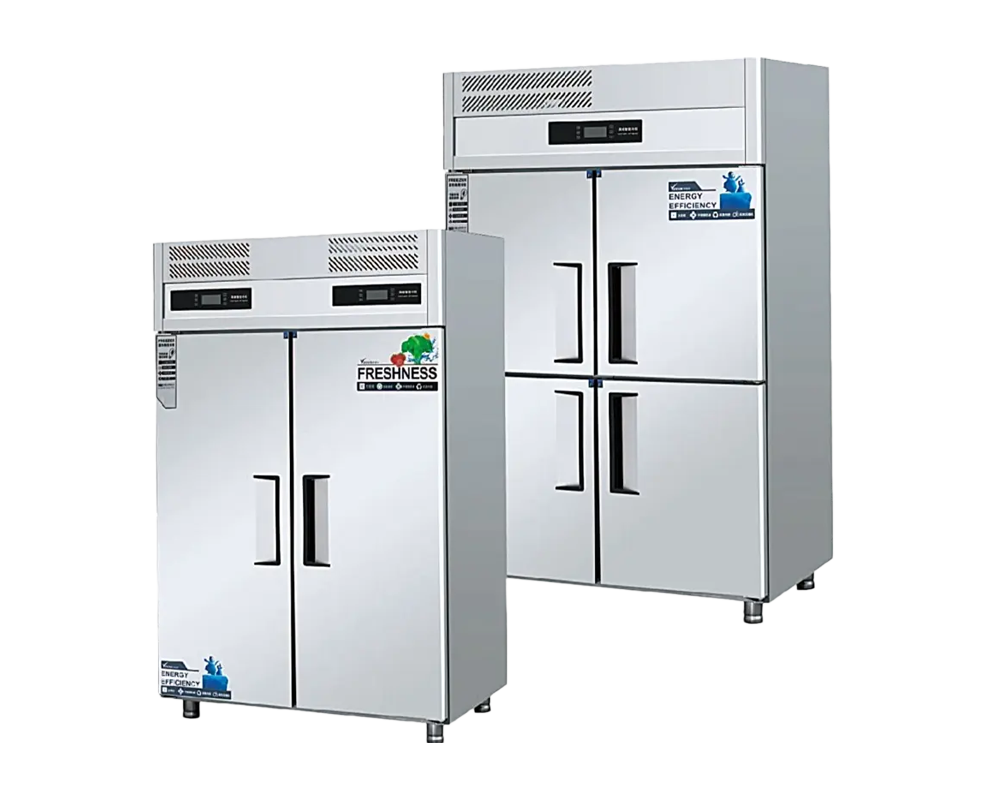 Commercial Stainless Steel Air Cooled Reach-in Vertical Freezers
-
 Dual Temperature Control Direct Cooling Commercial Upright Reach-in Refrigerators
-
 Commercial Vertical Air Cooled Intelligent Reach-in Freezer and Refrigerator
-
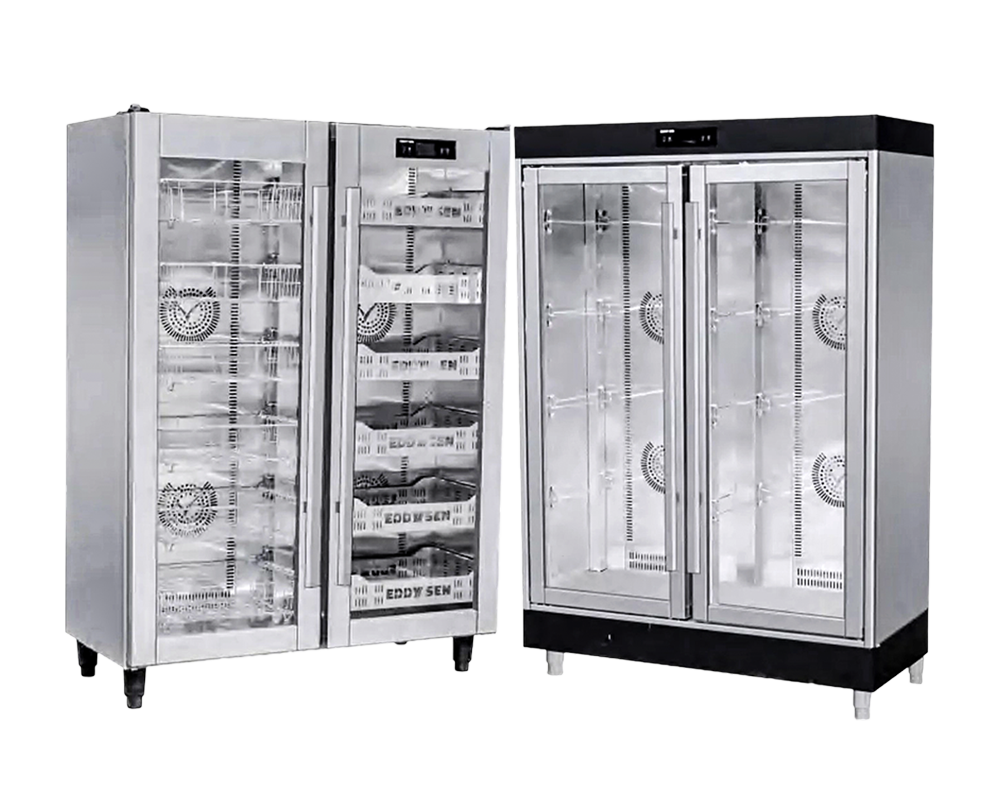
 Stainless Steel/Glass Flat Door Sterilization Cabinet
-
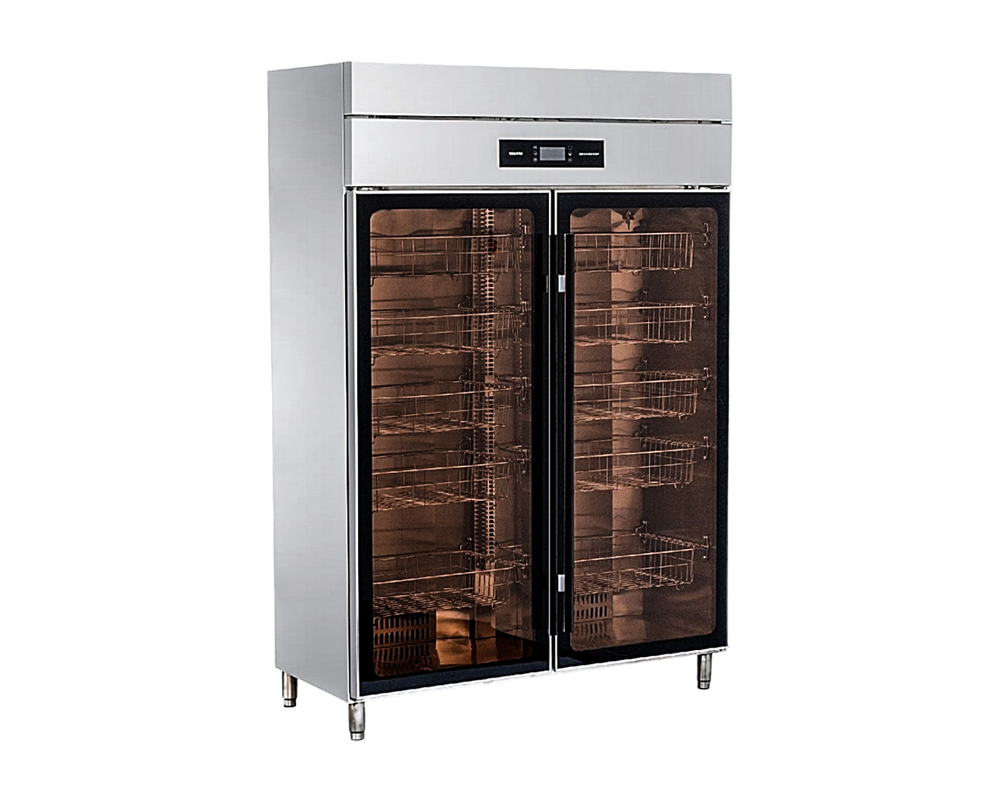 Multifunctional Three-mode High Temperature Glass Door Disinfection Cabinet
-
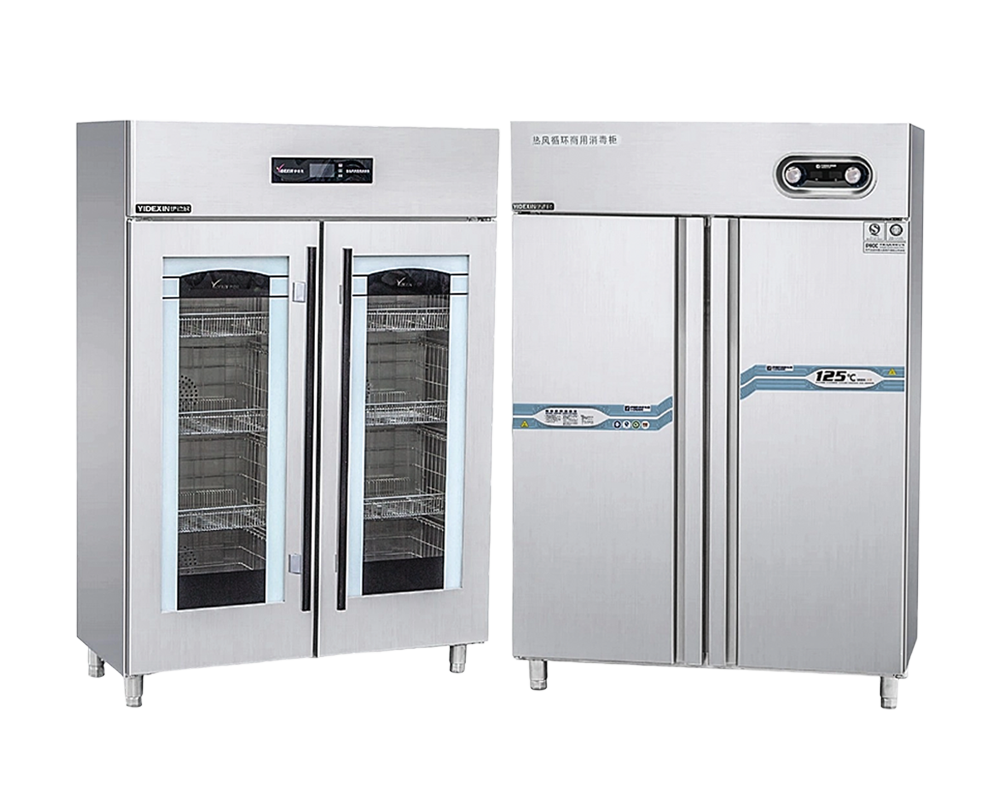 Commercial Restaurant Anti-Fingerprint Stainless Steel Disinfection Cabinet
-
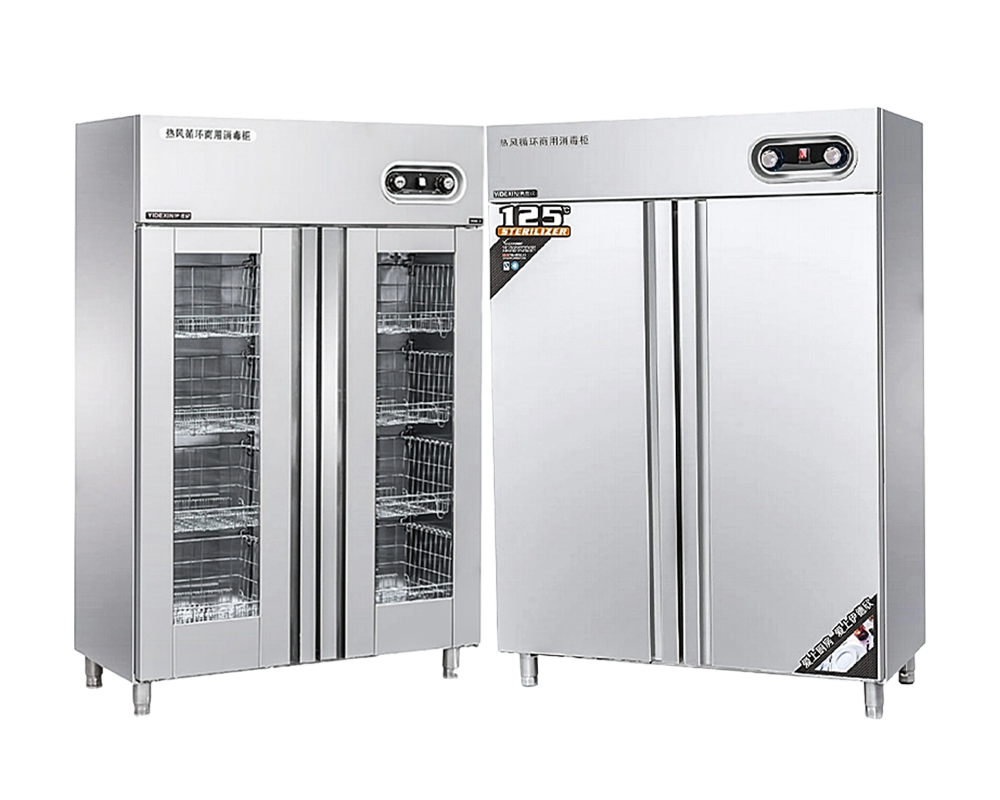
 Intelligent Light Wave Stainless Steel UV Disinfection Cabinet
-
 [email protected] / [email protected]
-
 +86-15066977778 / +86-19012777577
-
 Reach-in Refrigerators
-
 Reach-in Freezers
-
 Dual Temperature Refrigerators
-
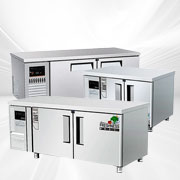 Worktop Refrigerators
-
 Worktop Freezers
-
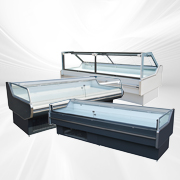
 Salad Bar Refrigerators
-
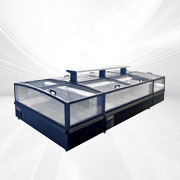 Combined Island Display Refrigerators
-
 Air Curtain Refrigerators
-
 Fresh Cabinets
-
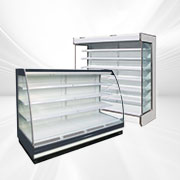
 Display Refrigerators(Glass Door)
-
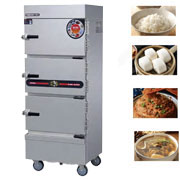 Electric Rice Steamer Cabinets
-
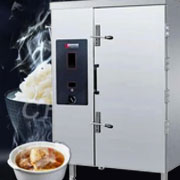 Gas Rice Steamer Cabinets
-
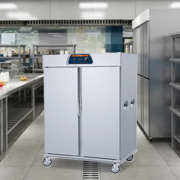 Vertical Banquet Cabinets
-
 Horizontal Banquet Cabinets
-
 Heated Disinfection Cabinets
Home / News / Industry information / Supermarket Refrigeration Delivery: Survey, Install & Acceptance
Supermarket Refrigeration Delivery: Survey, Install & Acceptance
Content
- 1 What “Project Delivery” Means in Supermarket Refrigeration
- 2 Survey Phase: Collect the Data That Prevents Rework
- 3 Installation Planning: Control Interfaces, Not Just Placement
- 4 Commissioning: Make Performance Measurable Before Acceptance
- 5 Acceptance Testing: What We Document (So You Can Sign Off Confidently)
- 6 How We Match Equipment to Store Zones (Without Overcomplicating the Build)
- 7 Common Pitfalls We Help Customers Avoid
- 8 What You Should Send Us to Start a Smooth Delivery
In supermarket refrigeration, “good equipment” is only half the outcome. The other half is how the project is delivered—how the survey is done, how the installation is controlled, and how acceptance is proven with measurable results. As a manufacturer and supplier, I’m often asked to support projects where schedule pressure is high and mistakes are expensive. This article explains how we run Supermarket Refrigeration Project Delivery: Survey, Install & Acceptance in a way that reduces rework, protects food safety, and speeds up opening day.
If you’d like to see the equipment families we typically specify for these projects, you can browse our commercial kitchen and supermarket equipment product page and focus on the supermarket category most relevant to your store layout.
What “Project Delivery” Means in Supermarket Refrigeration
For supermarket refrigeration, delivery is not just shipping cabinets. It’s a controlled sequence that starts with survey data and ends with documented performance. When we deliver properly, we align three things:
- Your merchandising plan (what you sell, how you display, traffic flow)
- Your site conditions (power, drainage, ambient heat, humidity, access)
- Your acceptance criteria (what “ready to open” means, in measurable terms)
The fastest projects are usually the ones with the most discipline. A few hours of careful survey can prevent days of on-site modifications later. In our experience, most delays come from utilities and interfaces—power capacity, drainage slope, ventilation clearance, and last-minute layout changes.
Survey Phase: Collect the Data That Prevents Rework
The survey is where we lock down “site truth.” When customers tell me “it should be fine,” I still ask for measurements—because a cabinet that is 20–30 mm off can block an aisle, break airflow, or force expensive relocation of drains and electrical lines.
Survey deliverables we insist on
- Dimensioned floor plan with aisle widths, column positions, and door swing zones
- Electrical map: voltage, phase, breaker capacity, and panel locations
- Drain points and slope feasibility (condensate and cleaning water are different problems)
- Ambient design conditions (typical store target is around 24–26°C; humidity matters for open cases)
- Delivery route constraints: door sizes, turns, elevators, loading dock timing
A practical survey workflow that keeps projects moving
- Confirm product mix by zone (frozen, dairy, meat, produce, beverages, grab-and-go)
- Freeze the cabinet line-up and lengths (avoid late “add one more meter” changes)
- Validate utilities at the exact installation points (not “somewhere nearby”)
- Confirm clearances for ventilation and maintenance access
- Issue a final layout drawing for sign-off before production
If your project includes open merchandisers, island freezers, and service counters, the cabinet selection must match the store’s operating reality. For example, open cases typically need tighter control of ambient conditions than closed glass-door cases. That’s why we align the equipment plan with HVAC capability and customer traffic patterns during survey—before any installation starts.
For reference, you can review our supermarket refrigeration equipment page to see the main cabinet types we commonly support in medium- and large-store cold chain projects.
Installation Planning: Control Interfaces, Not Just Placement
Installation goes smoothly when every interface is planned: power, drainage, ventilation, and the “human” interface (how staff loads product and cleans equipment). We typically divide installation planning into what must be ready before cabinets arrive and what must be verified immediately after positioning.
Pre-install readiness checklist
- Finished floor level is within tolerance (uneven floors cause door sealing and drainage issues)
- Dedicated breakers and correct cable sizing are prepared per equipment schedule
- Drainage points are accessible and tested for flow (especially in fresh food and service areas)
- HVAC supply and return do not blow directly into open cases (this can destabilize temperatures)
- Receiving window and handling equipment are ready (pallet jacks, forklifts, protective pads)
On-site checks that prevent “invisible” performance problems
Some installation mistakes look fine on day one and become expensive in week three. These are the checks we require:
- Airflow clearance is maintained around intake and discharge zones
- All doors and lids close smoothly with uniform gasket contact (no “daylight” gaps)
- Condensate management is verified (drain line slope, trap where needed, no backflow risk)
- Controller settings match the food category (chilled vs frozen vs fresh counter zones)
- Defrost logic is validated (timing, termination, and post-defrost recovery)
If you’re designing a strong frozen zone, modular island systems are often selected for flexible layout and capacity planning. In those cases, we recommend you align the installation plan with future expansion (end caps, power routing, aisle clearances). A useful reference for this cabinet family is our combined island display refrigerators page.
Commissioning: Make Performance Measurable Before Acceptance
Commissioning is where we turn “installed” into “operational.” This is the phase many projects rush, and it’s the phase that protects you from callbacks. We commission in stages—power-up, stabilization, functional checks, and stress checks.
The metrics we use to confirm stability
- Chilled display zones typically target 0–4°C product-friendly operation (setpoints vary by category)
- Frozen zones commonly target -18°C or below for long-term frozen food holding
- Short-term temperature deviation targets are agreed in advance (a typical practical goal is ±2°C under steady conditions)
- Recovery after door openings/defrost is verified (does the cabinet return to setpoint predictably?)
In a real store environment, “lab-perfect” conditions don’t exist. We commission with realistic scenarios: stocking cycles, customer door openings, lighting heat load, and cleaning routines. The goal is not a single good reading—it’s repeatable performance you can defend in an audit.
Common commissioning issues we eliminate early
- Air curtain disturbance from HVAC drafts (especially near entrances and checkout zones)
- Incorrect defrost frequency causing ice buildup or temperature swings
- Blocked airflow from overfilling shelves or using non-standard product baskets
- Drain line misrouting causing leaks or odor backflow
Acceptance Testing: What We Document (So You Can Sign Off Confidently)
Acceptance is not a handshake—it’s a package of evidence. We prefer to agree on acceptance criteria during the survey stage, then verify them during commissioning, then finalize sign-off after a defined stabilization period.
Acceptance evidence you should request
- Temperature logs by cabinet/zone over a defined run period (e.g., overnight stability test)
- Functional test record (lights, fans, alarms, defrost, door switches, controllers)
- As-installed layout and utility connections (so future maintenance is faster)
- Spare parts and wear-item list aligned to your maintenance plan
- Operator training record (what staff were trained on, and when)
| Phase | Key Checks | Evidence for Acceptance | Risk Reduced |
|---|---|---|---|
| Survey | Dimensions, utilities, ambient conditions, access route | Signed layout, utility schedule, site photos | Late changes, rework, schedule slips |
| Install | Leveling, clearances, drainage, electrical correctness | Installation checklist, connection verification | Leaks, airflow issues, nuisance alarms |
| Commission | Stabilization, defrost function, recovery behavior | Run logs, functional test record | Temperature swings, ice buildup, food risk |
| Acceptance | Criteria met, documentation complete, staff trained | Acceptance report, training sign-off, as-built docs | Disputes, warranty ambiguity, operational downtime |
A strong acceptance process is also how we protect warranty outcomes. When performance is clearly documented at handover, you avoid “who changed what” arguments later—and your maintenance team starts with a clean baseline.
How We Match Equipment to Store Zones (Without Overcomplicating the Build)
Most supermarkets use a mix of display and storage refrigeration. We usually think in zones:
- Front-of-house display: island freezers, open merchandisers, glass-door display cabinets, fresh food cabinets
- Service counters: deli/meat cabinets where staff interaction is frequent
- Back-of-house: reach-in refrigerators/freezers for receiving and prep stability
Back-of-house storage is often where temperature stability is easiest to achieve, and it protects your front-of-house when you restock. If your store includes a receiving/prep area, it’s common to combine display equipment with reliable storage cabinets; you can see typical back-of-house options on our reach-in refrigeration equipment page.
As a manufacturer, we focus on practical build features that matter during delivery: durable cabinet structure, serviceable components, and layouts that are straightforward to install and maintain. The goal is a project your contractor can implement cleanly, and your store team can operate confidently.
Common Pitfalls We Help Customers Avoid
If you’ve managed supermarket builds before, these may sound familiar. We address them during survey and installation planning because they are much harder to fix after commissioning:
- Placing open cases where doors or HVAC drafts disrupt the air curtain
- Underestimating condensate and cleaning water management (drains added late cause downtime)
- Treating acceptance as “visual inspection” instead of performance verification
- Not training staff on loading lines and airflow rules (overfilling can create warm spots)
- No baseline logs at handover, making future troubleshooting slower and more expensive
My rule is simple: if a requirement matters to you operationally, it must appear in the acceptance checklist. That includes target temperatures, alarm behavior, defrost recovery, and basic usability items like door alignment and shelf stability.
What You Should Send Us to Start a Smooth Delivery
If you want a delivery process that is fast and predictable, these inputs make the biggest difference:
- Your latest floor plan (DWG/PDF) with intended refrigeration zones
- Country/region electrical standard and site power availability
- Target opening date and any “no work” windows for the site
- Product category list and expected peak traffic periods
- Your acceptance expectations (temperature ranges, logging duration, documentation format)
When these inputs are clear, we can help you shorten the path from survey to installation to acceptance—without compromising the proof you need at handover. That is the practical difference between “equipment delivered” and supermarket refrigeration ready to operate.
-
 Add.
Add.
Sales Center:Room 410, Floor T3-4, Zhonghai Development Building, No. 888, Kejiguan Street, Binjiang District, Hangzhou, Zhejiang,China
Factory Address:100 Meters South Of Zhongmao Village, Xingfu Town, Boxing County, Binzhou City, Shandong Province, P.R.China
Sales Center:Room 410, Building 15, Tianan Headquarters Center, 555 North Panyu Avenue, Donghuan Street, Panyu District, Guangzhou City, china
-
 Tel.
+86-15066977778+86-19012777577
Tel.
+86-15066977778+86-19012777577 -
 Email.
Quick Links
Product Fast Links
Mobile Terminal
Copyright @Hangzhou Eddysen Catering Equipment Co., Ltd.All rights reserved. Commercial Freezer Manufacturer