 English
 中文简体
中文简体 Español
 عربى
عربى
-
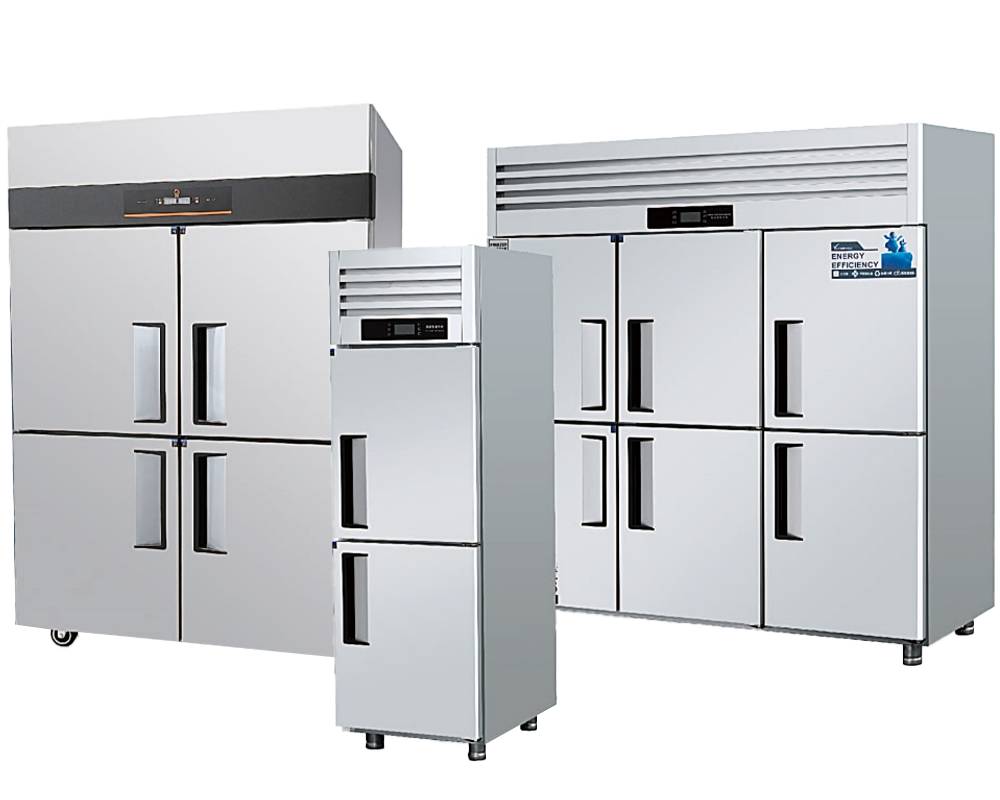 Commercial Vertical Direct-cool Stainless Steel Reach-in Refrigerator
-
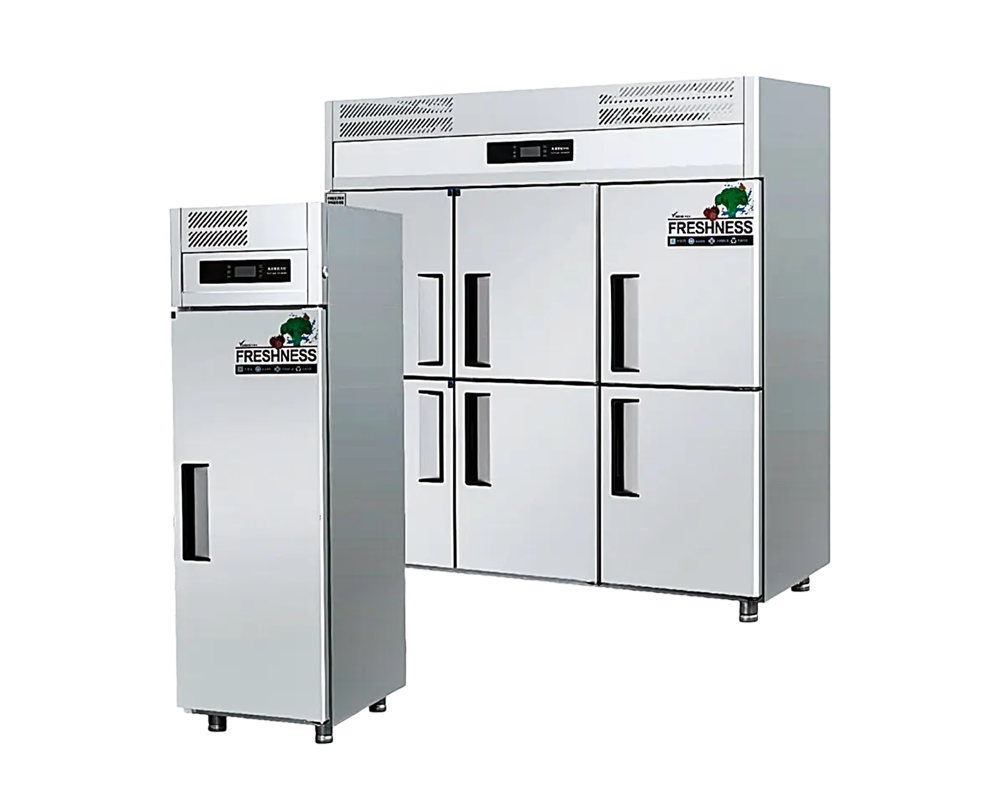 Commercial 201SUS Upright Air Cooling Reach-in Refrigerators
-
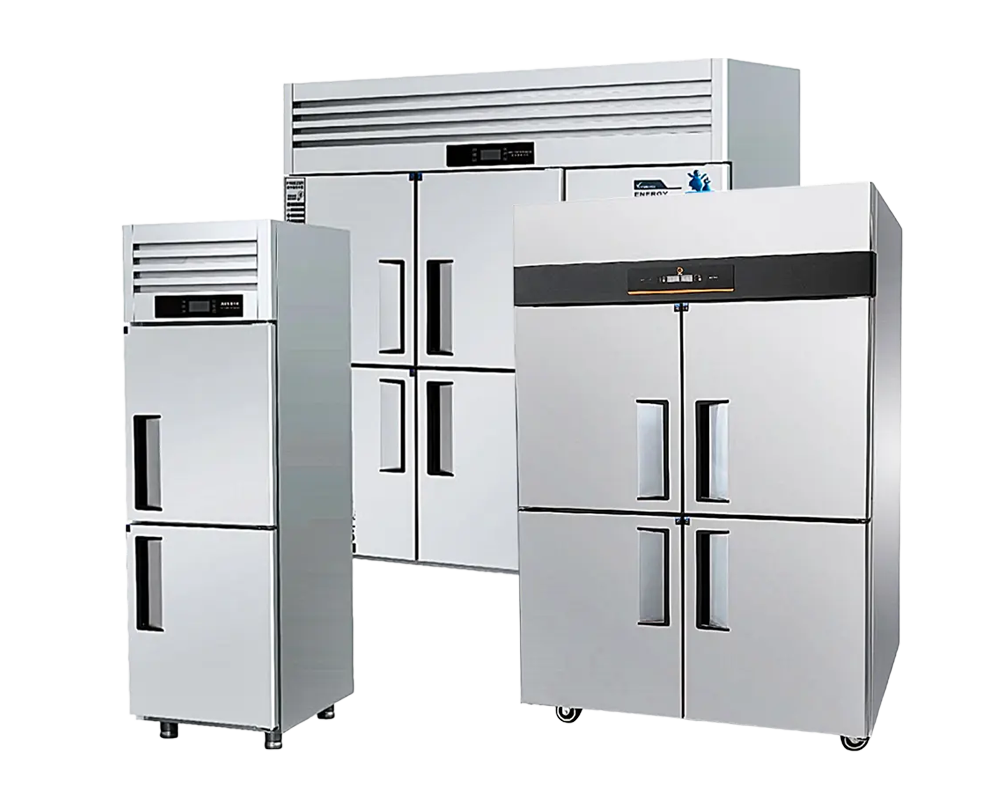 Commercial Direct-Cool Upright Reach-in Freezers
-
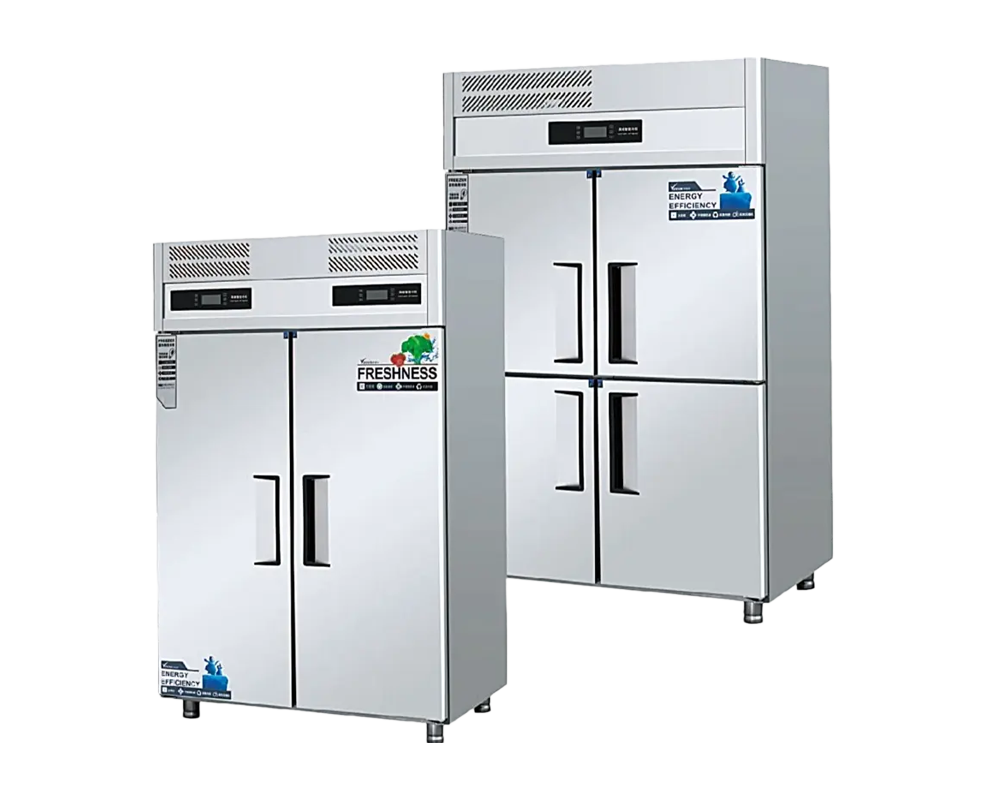 Commercial Stainless Steel Air Cooled Reach-in Vertical Freezers
-
 Dual Temperature Control Direct Cooling Commercial Upright Reach-in Refrigerators
-
 Commercial Vertical Air Cooled Intelligent Reach-in Freezer and Refrigerator
-
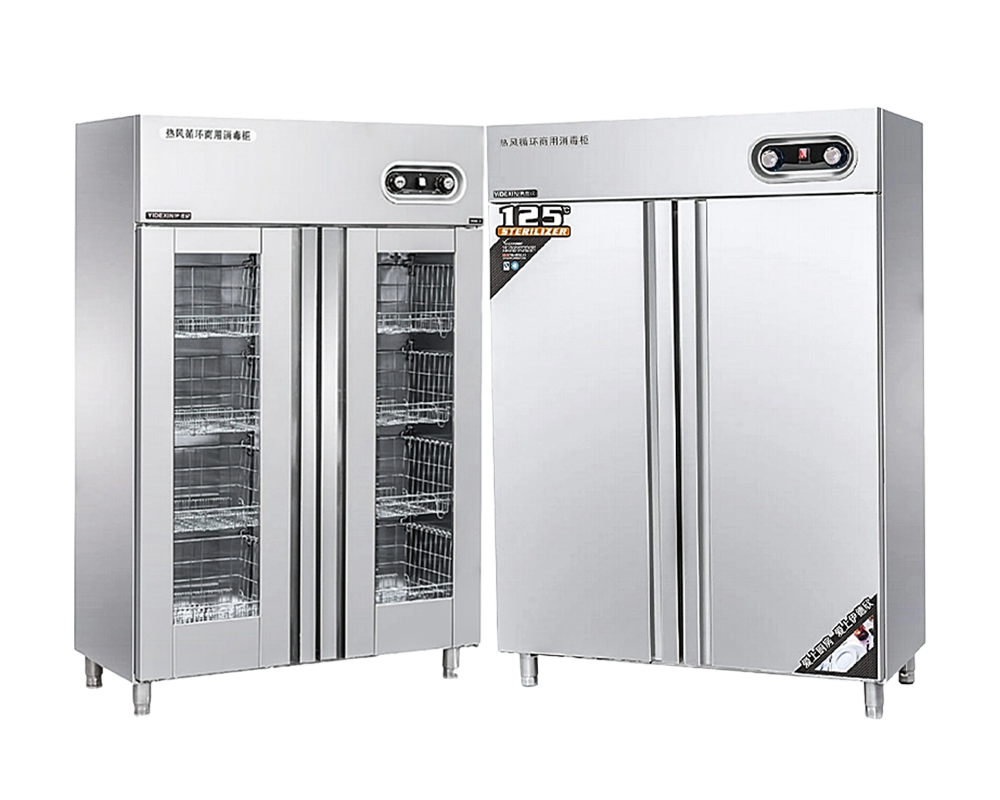 Stainless Steel/Glass Flat Door Sterilization Cabinet
-
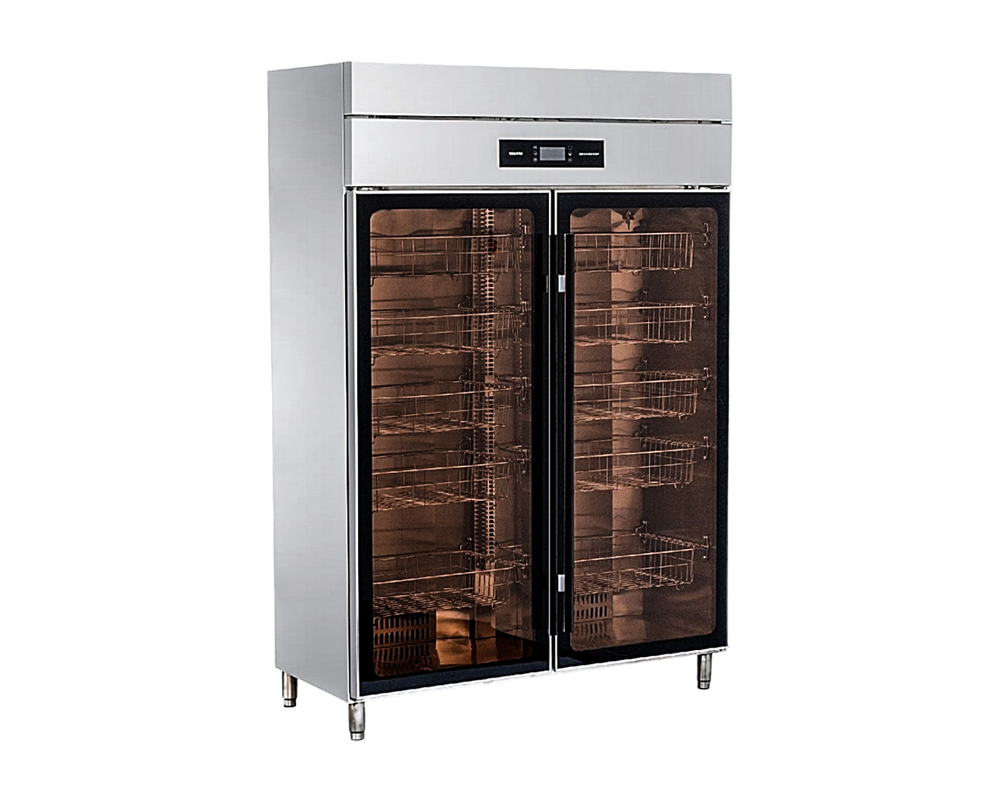 Multifunctional Three-mode High Temperature Glass Door Disinfection Cabinet
-
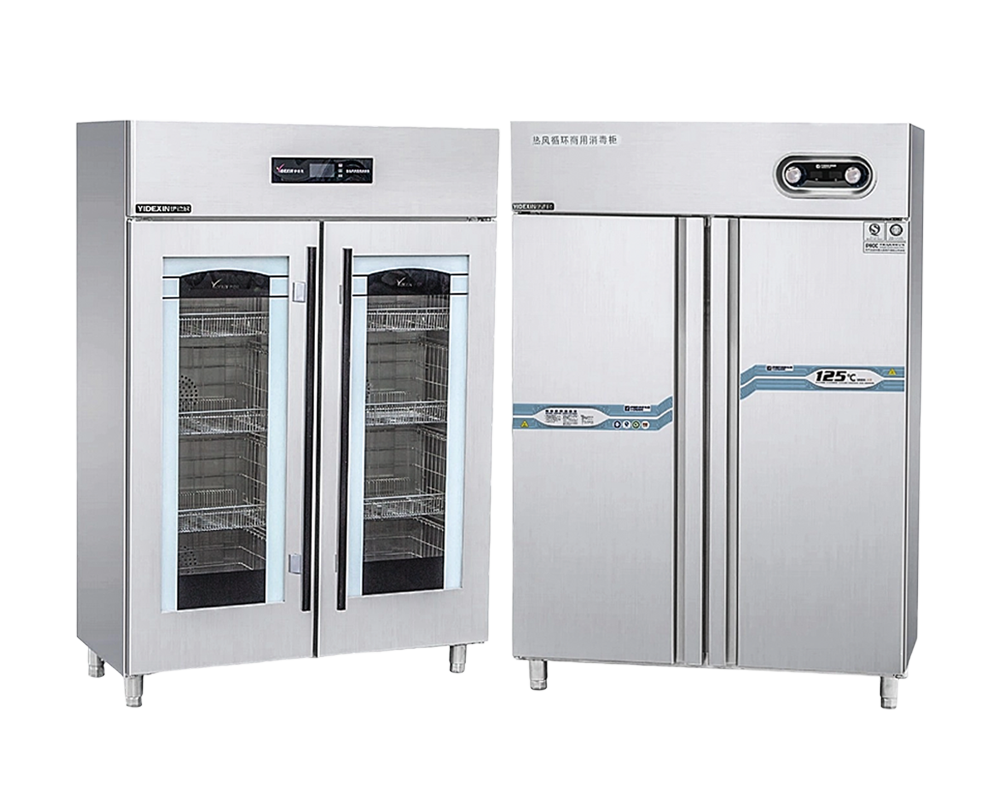 Commercial Restaurant Anti-Fingerprint Stainless Steel Disinfection Cabinet
-
 Intelligent Light Wave Stainless Steel UV Disinfection Cabinet
-
 [email protected] / [email protected]
-
 +86-15066977778 / +86-19012777577

-
 Reach-in Refrigerators
-
 Reach-in Freezers
-
 Dual Temperature Refrigerators
-
 Worktop Refrigerators
-
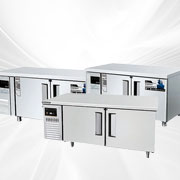 Worktop Freezers
-
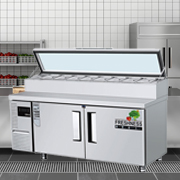 Salad Bar Refrigerators
-
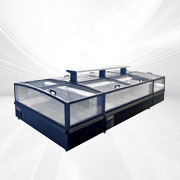 Combined Island Display Refrigerators
-
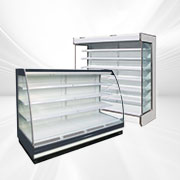 Air Curtain Refrigerators
-
 Fresh Cabinets
-
 Display Refrigerators(Glass Door)
-
 Electric Rice Steamer Cabinets
-
 Gas Rice Steamer Cabinets
-
 Vertical Banquet Cabinets
-
 Horizontal Banquet Cabinets
-
 Heated Disinfection Cabinets
Home / News / Industry information / How to Build a Commercial Kitchen: A Complete Step-by-Step Guide
How to Build a Commercial Kitchen: A Complete Step-by-Step Guide
Content
- 1 Step 1: Understand Local Regulations & Permits
- 2 Step 2: Design Your Kitchen Layout for Workflow Efficiency
- 3 Step 3: Choose the Right Commercial Kitchen Equipment
- 4 Step 4: Plan Your Utilities & Infrastructure
- 5 Step 5: Budget Your Commercial Kitchen Setup
- 6 Step 6: Source Your Equipment & Choose a Supplier
- 7 Step 7: Avoid These Common Startup Mistakes
Step 1: Understand Local Regulations & Permits
Nearly half of all kitchen startup delays trace back to a single oversight: skipping the permit phase. Health inspectors flag floors, drains, and ventilation before they ever taste the food. You need a clear permit roadmap tailored to your operation type.
Start with your local health department. They enforce the FDA Food Code, which dictates surfaces, sink placement, and wastewater connections. A food truck faces different rules than a 2,000-sq-ft full-service restaurant. For example, a mobile unit may need a commissary agreement, while a brick-and-mortar kitchen must submit architectural plans showing hand sinks every 20 linear feet. Do not assume a residential-grade remodel passes. Licensed contractors familiar with NSF/ANSI 2-2019 standards should handle the build-out.
Below is a quick-reference table for three common kitchen types. Timeframes assume no major plan revisions and a responsive local permit office.
| Kitchen Type | Core Permits | Approval Window | Estimated Fees |
|---|---|---|---|
| Food Truck / Trailer | Mobile food permit, commissary letter, fire inspection | 4–8 weeks | $500–$2,000 |
| Small Restaurant (under 1,000 sq ft) | Health permit, building permit, hood suppression, grease trap | 8–14 weeks | $2,000–$8,000 |
| Central Kitchen / Commissary | Health permit, wholesale food license, HACCP plan, wastewater permit | 12–20 weeks | $5,000–$20,000 |
Check zoning before signing a lease. Some municipalities prohibit commercial cooking in mixed-use buildings without a separate exhaust shaft. Schedule a pre-application meeting with the health department and fire marshal; their early feedback saves plan revisions and months of lost rent.
Step 2: Design Your Kitchen Layout for Workflow Efficiency
A technician who walks 12 extra feet per plate adds 8 minutes of non-cooking movement every hour. Across a Saturday dinner rush, that steals an entire employee’s shift. Layout is not about aesthetics—it is about compressing the path from receiving to plating.
Map your operation into five zones: dry storage, cold storage, prep, cooking, and warewashing. Place them in a continuous loop with zero cross-traffic. For hot kitchens, keep the cookline between prep and service; for cold-focused operations like salad bars, bring refrigeration next to assembly. Every extra pivot or crossover increases contamination risk and ticket times.
The three layouts below cover most commercial spaces. Island designs work best for large brigades, while assembly lines shine in high-volume, limited-menu concepts.
| Layout | Best For | Floor Area (min.) | Key Strength | Watch Out For |
|---|---|---|---|---|
| Assembly Line (Galley) | Pizza, fast-casual, limited menus | 200–400 sq ft | Straight-line flow, low labor crossover | Bottlenecks if one station stalls |
| Island (Open) | Fine dining, hotel kitchens, large teams | 600+ sq ft | Multi-station collaboration, flexible rerouting | Requires more floor space and hood coverage |
| Zone Style | Bakery, multi-cuisine, catering | 350–800 sq ft | Separate temp/humidity zones, hygiene control | Can isolate communication if not planned with sightlines |
Factor in clearance zones—36 inches for main aisles, 42 inches if equipment doors swing open. Mark an equipment footprint on your floor plan before you order a single appliance. Correct layout planning prevents a $15,000 hood relocation later.
Step 3: Choose the Right Commercial Kitchen Equipment
Equipment decisions start with the menu, not the catalog. A conveyor oven burns through labor budgets if you only bake 20 sheet trays a day. Conversely, a six-burner range with a 24-inch griddle overwhelms a small cafe that mostly assembles salads. Match throughput to peak-hour ticket counts, then add 15% headroom.
The table below maps menu categories to core equipment. It does not list every smallware but focuses on capital assets that dictate utility infrastructure.
| Menu Type | Core Cooking Equipment | Refrigeration | Specialty |
|---|---|---|---|
| Asian Stir-Fry / Wok | High-BTU wok range, stockpot burner | Undercounter freezers, worktop refrigerators | Electric rice steamer cabinet |
| Bakery & Pastry | Deck or convection oven, proofing cabinet | Dual-temperature reach-in, blast chiller | Spiral mixer, sheeter |
| Pizzeria | Deck oven or conveyor oven | Prep table with rail, reach-in cooler | Dough retarder |
| Salad / Grab-and-Go | Induction or rapid-cook oven | Air-curtain open merchandiser, undercounter fridge | Refrigerated salad bar unit |
Refrigeration alone can account for 20% of a kitchen’s energy bill, so the choice between direct-cooling and air-cooling systems matters. Direct-cooled units use a static evaporator inside the compartment; they hold temperature well and consume less electricity. Air-cooled (fan-forced) models recover temperature faster after door openings but add compressor runtime. For cold holding of large batches, air-cooled vertical reach-in refrigerators deliver consistent top-to-bottom temperature. Commercial direct-cooling workbench refrigerators integrate prep space and storage, reducing steps and footprint. Vertical direct-cool reach-in refrigerators suit high-volume bulk storage where energy efficiency and shelf visibility matter.
Use the decision matrix below to align refrigeration technology with your operation’s real-world rhythm.
| Parameter | Direct-Cool | Air-Cool (Fan-Forced) | Worktop | Upright Reach-In |
|---|---|---|---|---|
| Temperature Stability | Excellent (minimal swing) | Good (quick recovery after door open) | Good for short-term prep | Very good across multiple shelves |
| Energy Consumption | Low | Moderate | Low to moderate | Moderate |
| Best Use Case | Storage of stable inventory | High-traffic walk-in alternatives | Prep station with cold storage | Bulk ingredient organization |
| Annual Maintenance | Defrost every 3–6 months | Clean condenser coils monthly | Check door gaskets | Coil cleaning, fan inspection |
Prioritize NSF-certified stainless steel with 304-grade surfaces in wet zones; 201-grade works for dry storage shelving. Spending 10% more on the right refrigeration configuration often returns 30% in reduced energy and spoilage.
Step 4: Plan Your Utilities & Infrastructure
You cannot bolt a 120,000-BTU wok range onto a residential gas line and expect legal compliance. Utility planning is a civil engineering exercise disguised as kitchen design. Sizing gas pipe diameters, electrical subpanels, and exhaust make-up air units correctly avoids a stop-work order mid-inspection.
Start by listing every heat-producing appliance and its maximum load. Add the lighting, refrigeration compressors, and small appliance circuits. Most small restaurants need a 200-amp single-phase service minimum; a heavy-cooking kitchen with combi ovens and a 30-inch griddle may push past 400 amps into three-phase territory. The table below shows ballpark electrical requirements for three kitchen scales.
| Kitchen Scale | Typical Floor Area | Minimum Service | Common Phase/Voltage |
|---|---|---|---|
| Small (Food Truck / Kiosk) | 100–250 sq ft | 60–100 amps | Single-phase 120/240V |
| Medium (Cafe / Fast-Casual) | 500–1,200 sq ft | 200–400 amps | Single or three-phase 208V |
| Large (Full-Service / Central Kitchen) | 1,500+ sq ft | 400–800 amps | Three-phase 208V or 480V |
Ventilation rules follow the International Mechanical Code. Each cooking line needs a Type I hood with fire suppression and make-up air equal to 80–90% of exhaust cubic feet per minute (CFM). A 10-foot hood pulling 3,000 CFM requires roughly a 2,700-CFM make-up air unit. Grease traps must be sized per the Uniform Plumbing Code—calculate using fixture unit values from the sink, dishwasher, and floor drains. One under-sized grease trap can shut your kitchen down on day one.
Step 5: Budget Your Commercial Kitchen Setup
Many first-time owners budget for ovens and mixers but stop there. A realistic budget covers excavation, concrete curbing, plumbing rough-ins, electrical panel upgrades, fire suppression piping, and the first health inspection fee. These “invisible” items often consume 25–35% of the total project cost.
The table below breaks down hidden costs as a percentage of total investment. Use it to pressure-test your contractor’s quote.
| Cost Category | Share of Total Budget | Notes |
|---|---|---|
| Plumbing & Grease Trap Installation | 6–10% | Floor trenching adds $3,000–$8,000 alone |
| Electrical Panel & Wiring Upgrades | 5–9% | Upgrading from 100A to 400A can cost $8,000–$15,000 |
| Hood & Fire Suppression System | 8–12% | ANSUL system plus ducting runs $10,000–$25,000 |
| Flooring, FRP Wall Panels, & Ceiling Grid | 5–8% | Required washable surfaces, cove base |
| Permits, Architect/Engineer Stamps | 3–5% | Plan review fees escalate with scope |
| Equipment Freight, Rigging, & Startup | 2–4% | Often overlooked; gas line tie-ins take a licensed fitter |
For a small 500-sq-ft takeout kitchen, expect a total build-out cost of $60,000–$110,000 including equipment. A 1,200-sq-ft fast-casual kitchen typically lands between $150,000 and $280,000. Full-service restaurants with a dedicated pastry section and extensive refrigeration routinely cross $350,000. Lease a space that already has a functional hood and floor drain, and you instantly save 15–20%.
Step 6: Source Your Equipment & Choose a Supplier
Three supply tiers exist, and the right one depends on your timeline and cash position. Factory-direct purchasing from manufacturers eliminates distributor markups—often 20–35%—but requires longer lead times and cash-on-delivery terms. Distributors stock inventory and can ship a combi oven within a week, though you pay for that convenience. Used equipment auctions offer 50–70% discounts but carry zero warranty and unknown refrigerant condition.
| Channel | Price Range | Warranty | Lead Time | Best For |
|---|---|---|---|---|
| Manufacturer Direct | Lowest (no middle markup) | 12–24 months standard | 4–12 weeks | New builds, multi-unit chains, spec-heavy items |
| Dealer / Distributor | Moderate (plus markup) | Standard manufacturer + dealer service | 1–5 days in-stock | Replacement purchases, tight timelines |
| Used / Auction | Lowest sticker price | None, as-is | Immediate pickup | Bootstrapping startups with in-house repair skills |
Screen suppliers with five non-negotiable questions: (1) Do you stock critical wear parts like gaskets and thermostats? (2) What is the after-sales service radius and average response time? (3) Can you provide load-test reports for refrigerated equipment? (4) Is the stainless steel 304-grade on food-contact panels? (5) Will you accept a staged payment schedule tied to delivery milestones? A supplier that stumbles on question two will cost you more in downtime than the discount was worth.
Step 7: Avoid These Common Startup Mistakes
The first 90 days expose every shortcut. Walk-in cooler floors that lack integral drains pool condensation and breed listeria. Exhaust hoods installed 2 inches too low fail the fire marshal’s pan test. These problems share a root cause: optimizing for initial cost instead of long-term serviceability.
The list below captures the three most frequent catastrophic failures we see in new kitchens, plus immediate preventive steps.
- Floor drain clogs: Grease and food solids solidify in pipes without a properly sized solids interceptor. Install a removable basket strainer at every floor sink and schedule a monthly hydro-jetting. During construction, verify the floor slopes 1/8 inch per foot toward the drain—no flat spots.
- Refrigeration compressor burnout: Airflow clearance is ignored. Condenser units pushed tight against a wall overheat within weeks. Maintain 6 inches of rear clearance on self-contained units and clean coils every 30 days. Install a temperature alarm with 24/7 remote notification; losing a full reach-in of seafood is a $2,000 mistake.
- Insufficient make-up air: When exhaust exceeds supply, negative pressure pulls kitchen doors shut, backdrafts flue gases, and starves gas burners. Specify a make-up air unit with a variable-speed drive that matches hood CFM. During commissioning, hold a smoke pencil at the hood edge—smoke must flow into the hood, not back into the room.
Document these checks on a laminated card posted inside the manager’s office. A kitchen that runs its first 90 days without a service interruption is one built on the right assumptions.

-
 Add.
Add.
Sales Center:Room 410, Floor T3-4, Zhonghai Development Building, No. 888, Kejiguan Street, Binjiang District, Hangzhou, Zhejiang,China
Factory Address:100 Meters South Of Zhongmao Village, Xingfu Town, Boxing County, Binzhou City, Shandong Province, P.R.China
Sales Center:Room 410, Building 15, Tianan Headquarters Center, 555 North Panyu Avenue, Donghuan Street, Panyu District, Guangzhou City, china
-
 Tel.
+86-15066977778+86-19012777577
Tel.
+86-15066977778+86-19012777577 -
 Email.
Quick Links
Product Fast Links
Mobile Terminal
Copyright @Hangzhou Eddysen Catering Equipment Co., Ltd.All rights reserved. Commercial Freezer Manufacturer