 English
 中文简体
中文简体 Español
 عربى
عربى
-
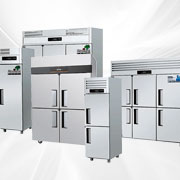
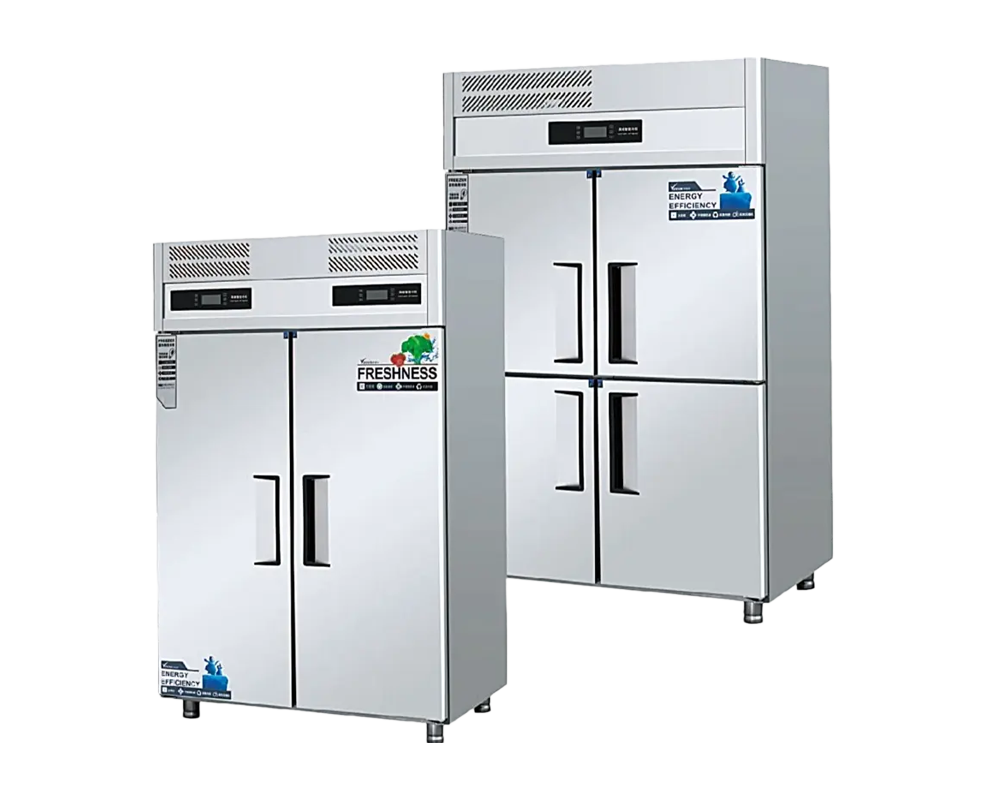
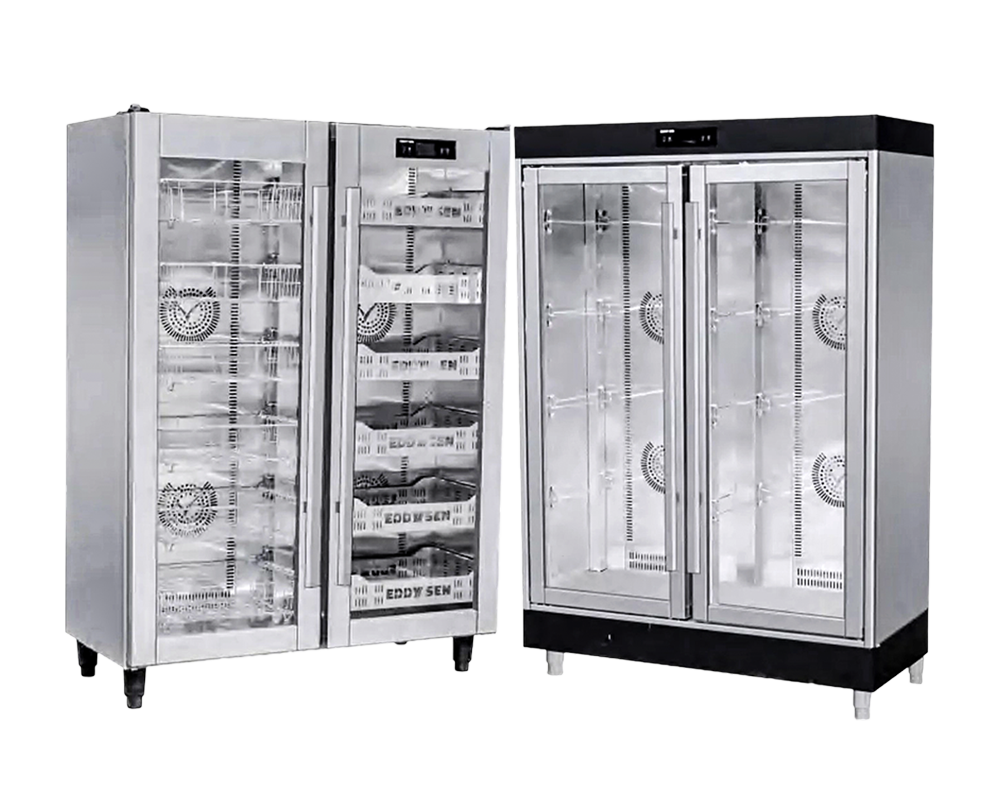
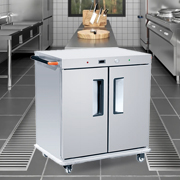
 Commercial Vertical Direct-cool Stainless Steel Reach-in Refrigerator
-
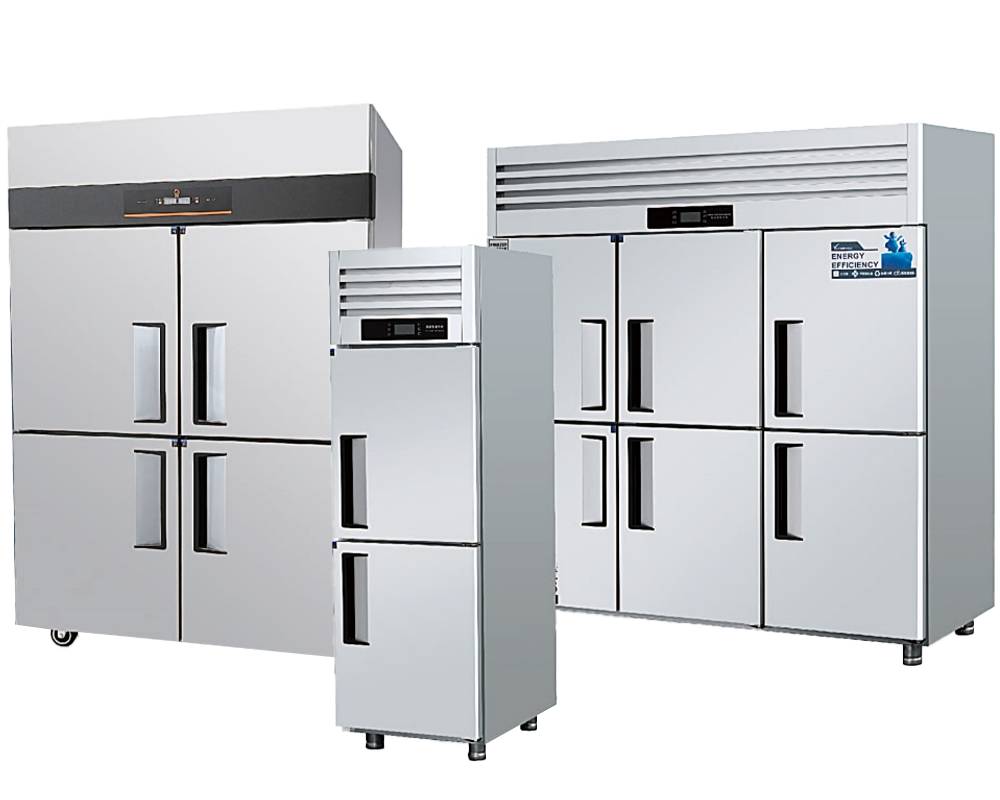
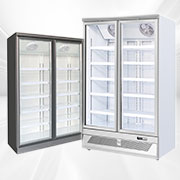
 Commercial 201SUS Upright Air Cooling Reach-in Refrigerators
-
 Commercial Direct-Cool Upright Reach-in Freezers
-
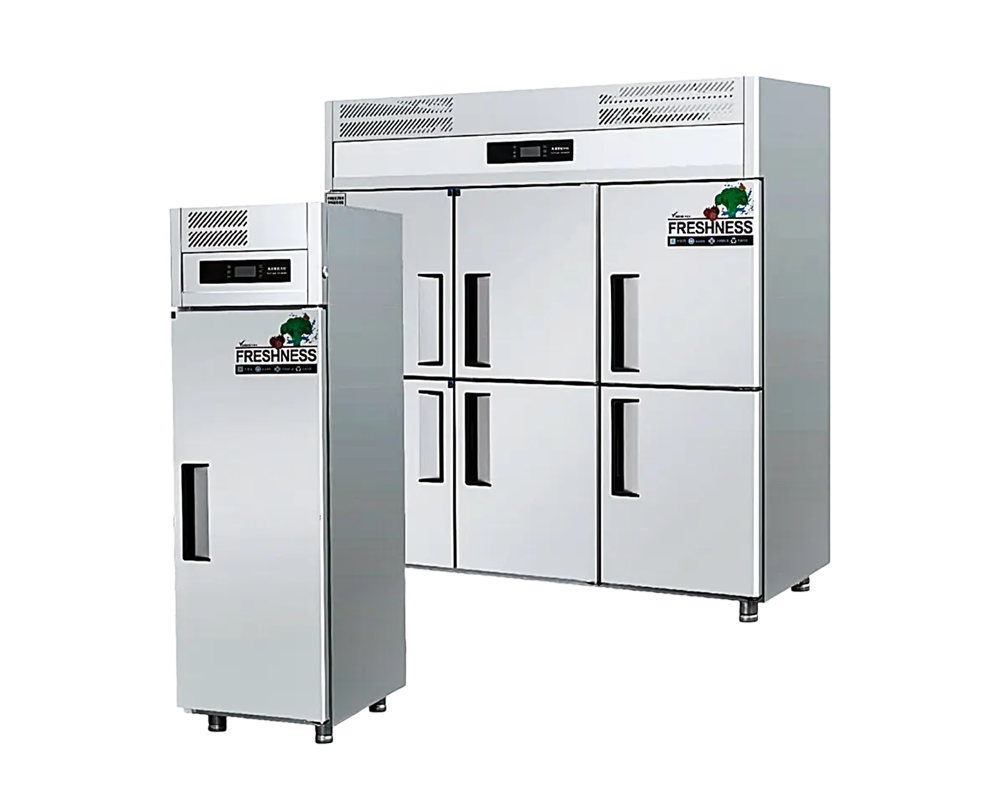
 Commercial Stainless Steel Air Cooled Reach-in Vertical Freezers
-
 Dual Temperature Control Direct Cooling Commercial Upright Reach-in Refrigerators
-
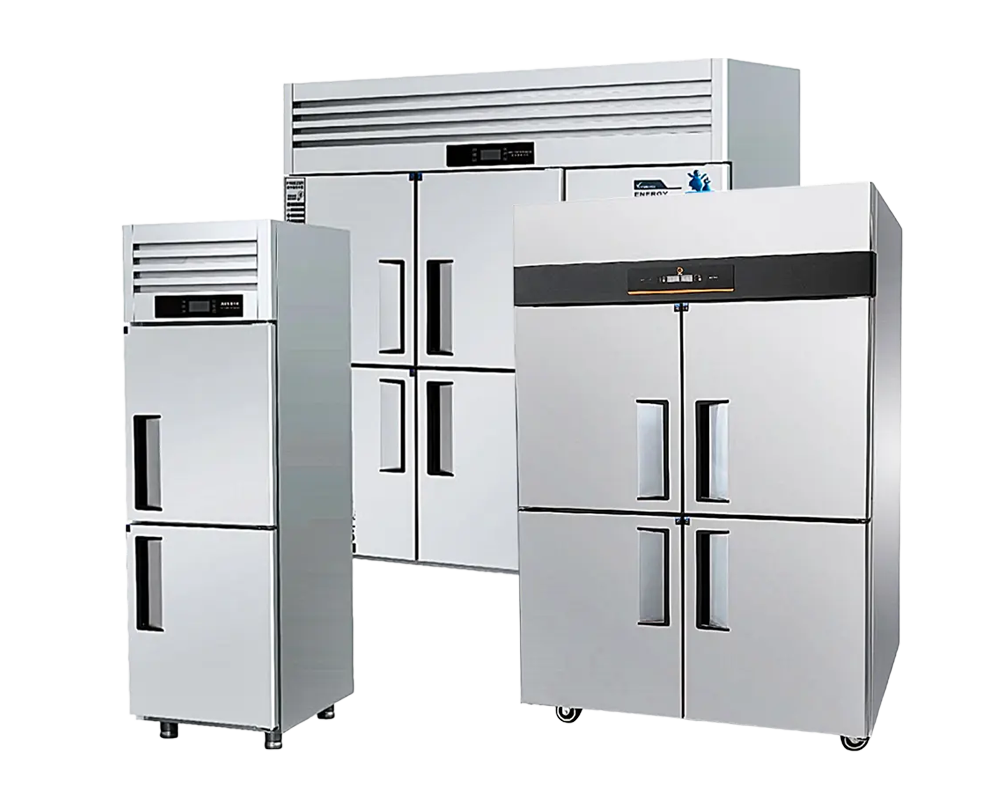
 Commercial Vertical Air Cooled Intelligent Reach-in Freezer and Refrigerator
-
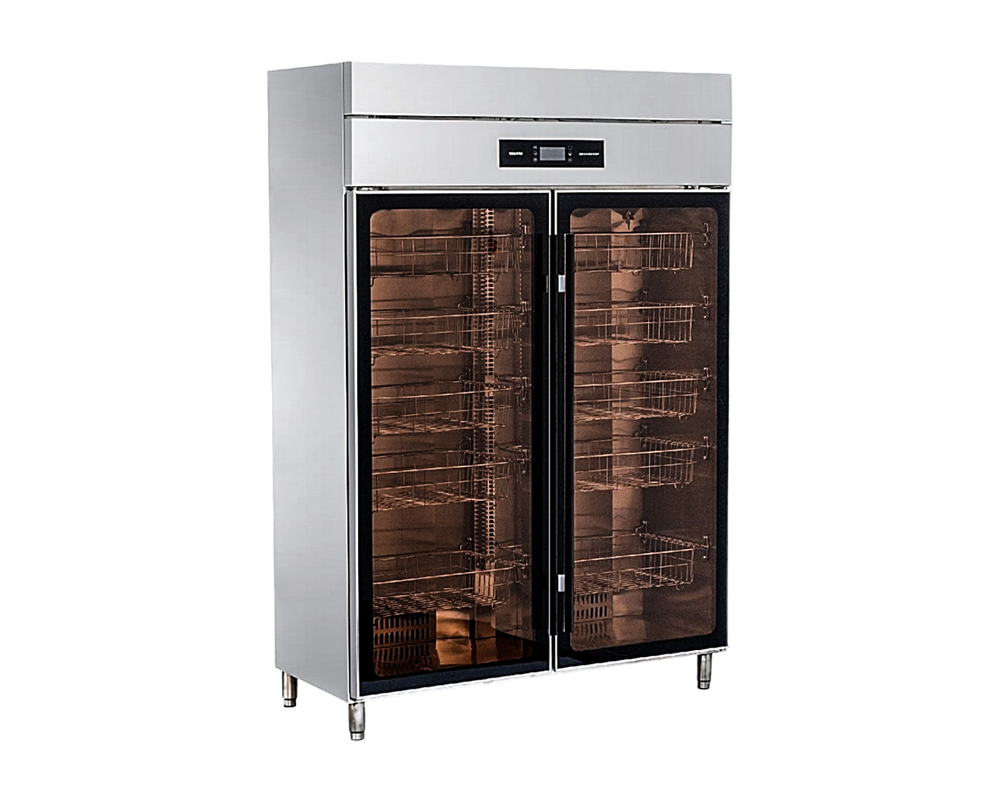
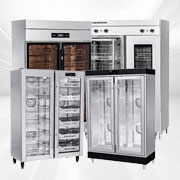
 Stainless Steel/Glass Flat Door Sterilization Cabinet
-
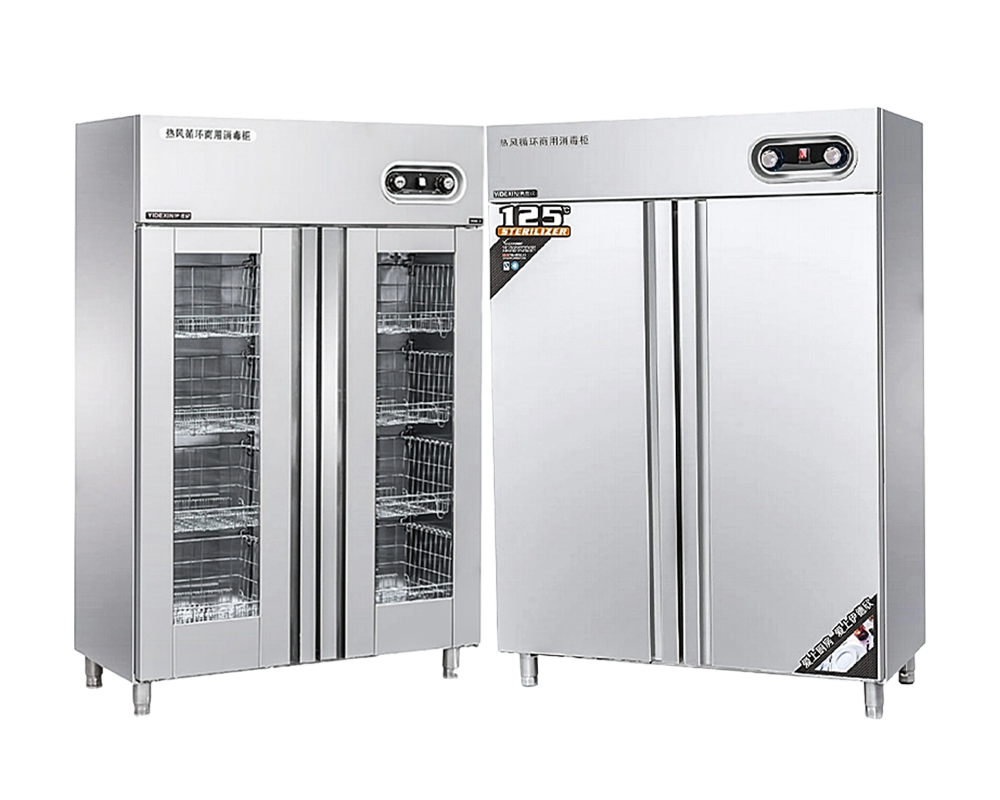
 Multifunctional Three-mode High Temperature Glass Door Disinfection Cabinet
-
 Commercial Restaurant Anti-Fingerprint Stainless Steel Disinfection Cabinet
-
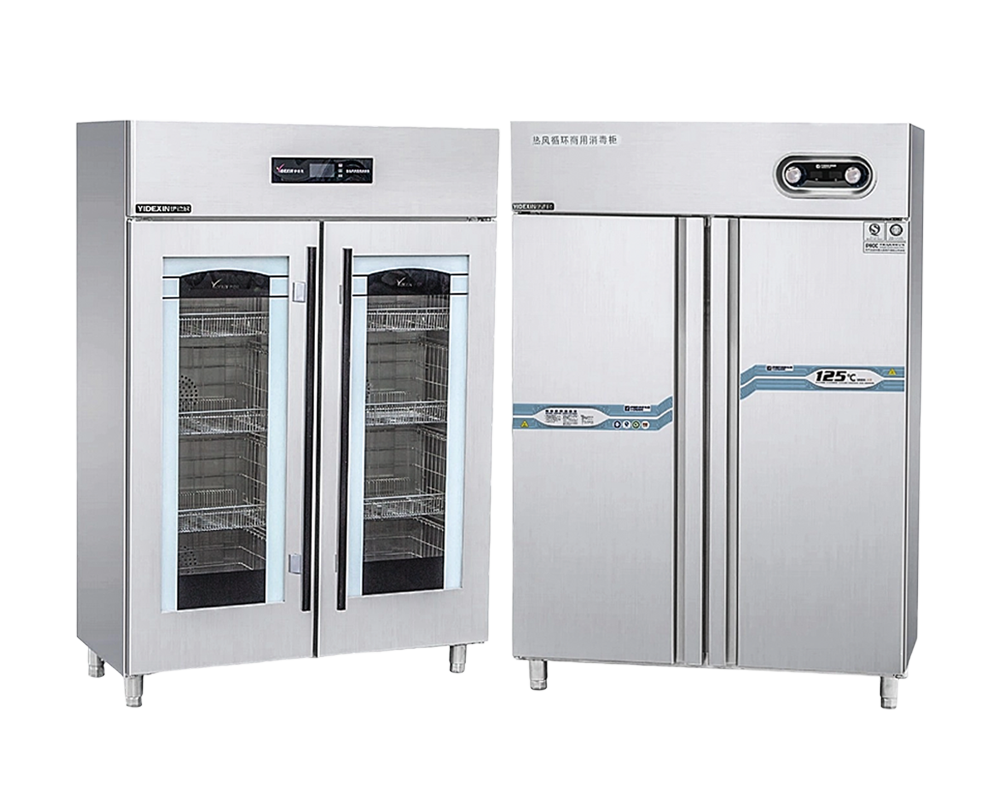
 Intelligent Light Wave Stainless Steel UV Disinfection Cabinet
-
 [email protected] / [email protected]
-
 +86-15066977778 / +86-19012777577
-
 Reach-in Refrigerators
-
 Reach-in Freezers
-
 Dual Temperature Refrigerators
-
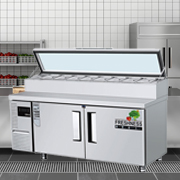
 Worktop Refrigerators
-
 Worktop Freezers
-
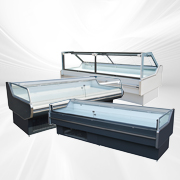
 Salad Bar Refrigerators
-
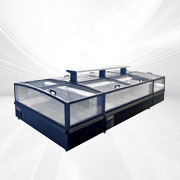 Combined Island Display Refrigerators
-
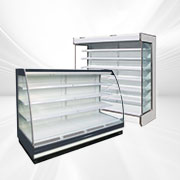 Air Curtain Refrigerators
-
 Fresh Cabinets
-
 Display Refrigerators(Glass Door)
-
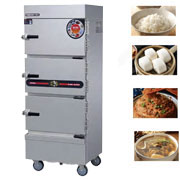 Electric Rice Steamer Cabinets
-
 Gas Rice Steamer Cabinets
-
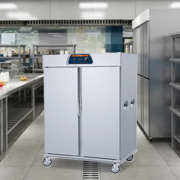 Vertical Banquet Cabinets
-
 Horizontal Banquet Cabinets
-
 Heated Disinfection Cabinets
Home / News / Industry information / Commercial Kitchen Equipment Checklist: From Planning to Operation
Commercial Kitchen Equipment Checklist: From Planning to Operation
Content
- 1 1. Understanding Your Kitchen Type and Menu Requirements
- 2 2. The Core Equipment Categories: A Complete Breakdown
- 3 3. Decision Matrix: How to Choose Between Similar Equipment
- 4 4. Space and Power Planning: What You Need to Know Before Buying
- 5 5. Budget Allocation and Prioritization Timeline
- 6 6. Certification, Compliance, and Supplier Selection
- 7 7. Maintenance and Spare Parts: Planning for the Long Run
- 8 8. Final Checklist: Downloadable Summary
A missing $4,200 NSF-certified reach-in cooler derailed a Chicago restaurant’s opening by three weeks — and cost the owner nearly $8,200 in lost revenue before the first plate was served. A commercial kitchen equipment checklist isn’t a wish list. It’s a phased procurement tool that ties your menu, space, budget, and compliance together. This guide gives you that tool, built around decision matrices, power and clearance data, and a vendor evaluation framework that helps you avoid the single-device gap that can sink a launch.
1. Understanding Your Kitchen Type and Menu Requirements
Checklists that treat every kitchen the same miss the real starting point: the menu drives the equipment, and the kitchen type dictates the flow. A quick-service fried chicken shop, a full-service Italian restaurant, a central commissary preparing chilled meals, and a supermarket hot bar each demand a fundamentally different equipment footprint. Matching the checklist to your operation prevents wasted capital and cramped line space.
For a QSR, speed is the design constraint. Fryers, griddles, and pass-through warmers dominate. A full-service kitchen relies on multiple cooking stations — charbroilers, pasta cookers, and combi ovens — while allocating 18–25% of floor area to plating and pickup. Central kitchens, producing 2,000–5,000 meals daily, lean heavily on tilt skillets, blast chillers, and automated portioning machines. Supermarket delis and fresh departments need open display refrigeration, hot holding cabinets, and prep sinks arranged for visual merchandising as much as throughput.
Before marking a single item on the list, document your peak-hour menu mix, daily cover count, and any scratch-cooking vs. rethermalization balance. A kitchen that plans for 80% scratch sauces but only operates two six-burner ranges will choke on a Friday night. The checklist then becomes a filter: only equipment that directly supports that documented production plan earns a “must-have” label. Everything else goes into the optional column, to be added only if space and budget permit.
2. The Core Equipment Categories: A Complete Breakdown
Every commercial kitchen, regardless of concept, anchors on six functional groups. Categorizing your list this way prevents oversight and helps you assign budget chunks logically — not emotionally. The table below distills the must-have items, optional add-ons, typical power draw, footprint, and unit cost range into a single quick-reference view.
| Category | Must-Have Items | Optional Add-ons | Typical Power / Requirements | Typical Dimensions (W x D x H) | Cost Range per Unit (USD) |
|---|---|---|---|---|---|
| Cooking | Gas range, convection oven, fryer, griddle | Combi oven, smoker, pasta cooker | Gas: 90k–199k BTU; Electric: 10–22 kW | 24"–72" wide, 30"–40" deep | $1,500–$12,000 |
| Refrigeration | Reach-in cooler, reach-in freezer, walk-in cooler | Blast chiller, undercounter fridge, display cooler | 1/2–1 HP, 115V/208–230V | 24"–72" wide, 30"–35" deep | $1,200–$14,000 |
| Food Prep | Stainless prep tables, mixer, slicer | Commercial food processor, vacuum sealer, meat grinder | 1/2–1 HP, 115V | 30"–60" wide prep tables | $500–$5,000 |
| Warewashing | 3-compartment sink, commercial dishwasher | Glasswasher, booster heater, pre-rinse spray | Dishwasher: 208–240V, 30–50A; Booster: gas or 30kW electric | Sink 72"–96" long, dishwasher 24"–44" wide | $500–$12,000 |
| Storage & Shelving | NSF shelving, ingredient bins, dunnage racks | Mobile racks, tray carts, can openers | None | Shelves 24"–60" long | $200–$1,800 |
| Safety & Ventilation | Type I hood, fire suppression system, first aid kit | CO2 monitor, grease trap interceptor, sprinklers | Exhaust fan 1–3 HP, fire system piped to gas | Hood length matches cookline | $2,000–$18,000 |
Note that refrigeration lead times regularly stretch to 8–10 weeks for custom configurations. Starting with a commercial reach-in refrigeration line that offers both direct-cool and forced-air options lets you lock in the thermal backbone of the kitchen while finalizing smaller items. Walk-in panels, once ordered, cannot be easily resized — so finalize your refrigeration layout before releasing any purchase order.
3. Decision Matrix: How to Choose Between Similar Equipment
Two pieces of equipment that look identical in a catalog often carry a 30–50% total-cost-of-ownership spread over five years. Selecting between direct-cool and air-cool refrigeration, gas and electric cooking, or glass-door and solid-door merchandisers demands a side-by-side comparison that accounts for capex, energy, maintenance labor, and the value of food safety consistency.
| Equipment Choice | Option A | Option B | CapEx | OpEx | Best For | Maintenance Note |
|---|---|---|---|---|---|---|
| Worktop Refrigeration | Direct-Cool | Forced-Air | Lower | Higher (energy + defrost labor) | Low-volume kitchens, limited budget | Manual defrost needed weekly; shorter compressor life in hot kitchens |
| Reach-in Freezer | Direct-Cool | Forced-Air | 15–25% lower | 15–20% higher annual energy | Dry storage-heavy concepts | Ice buildup on coils requires quarterly deep cleaning |
| Cooking Primary | Gas Range | Electric Range | Comparable (installation cost varies) | Gas often 30% cheaper per BTU | High-heat, rapid-response cooking | Gas requires Type I hood; electric may avoid additional makeup air |
| Display Refrigeration | Glass Door | Solid Door | 10–20% higher | Higher energy consumption | Front-of-house impulse sales | Glass units require anti-sweat heater maintenance |
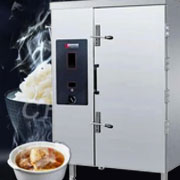
| Steamer | Gas | Electric | Similar | Electric easier to budget utility | Precision steaming, automated programs | Electric models like fully automatic rice steaming cabinets simplify water fill and timing |
| Workbench Freezer | Direct-Cool Static | Air-Cool Ventilated | 25–30% less | Higher defrost needs | Catering prep and short holding | Direct-cooling workbench freezers suit operations with dedicated cleaning schedules |
In practice, choose direct-cool only when your kitchen has ambient temperatures below 80°F and a designated staff member for manual defrosting. Forced-air units pay back the premium within 18–24 months through reduced spoilage and lower compressor runtime. Electric steamers eliminate the need for a Category I gas exhaust, cutting mechanical costs. The right matrix turns a debate into a spreadsheet decision.
4. Space and Power Planning: What You Need to Know Before Buying
A 60-inch gas range that fits through the door but has zero side clearance for its specified 6-inch combustible-side requirement becomes a code violation, not a cooking station. Space planning for commercial equipment hinges on manufacturer clearance specs, ventilation type, and utility rough-in locations. Planning these before ordering prevents last-minute hood modifications and electrical panel upgrades that can cost $3,000–$7,000.
| Equipment | Minimum Clearance (Sides/Back/Overhead) | Electrical (V/Ph/A) | Gas (BTU) | Ventilation Requirement | Typical Weight (lbs) |
|---|---|---|---|---|---|
| 6-Burner Gas Range | 6" / 12" / 36" | 120V/1Ph/5A (controls) | 110,000–120,000 | Type I hood mandatory | 450–600 |
| Full-Size Electric Convection Oven | 6" / 12" / 24" | 208–240V/1 or 3Ph/30A | N/A | Type II hood recommended | 350–500 |
| Reach-in Refrigerator (1-section) | 4" / 6" / 12" | 115V/1Ph/15A | N/A | None (air-cooled) | 200–300 |
| 3-Compartment Sink | 30" front clearance | None | N/A | Floor drain required | 150–250 |
| Commercial Dishwasher (conveyor) | 12" / 24" / 24" | 208–240V/3Ph/50–70A | Optional booster | Type II hood recommended | 500–800 |
Add 30–36 inches of unobstructed aisle space in front of each appliance for safe operation and cart passage. Many kitchens underestimate the makeup air needed for a Type I hood, which can require a dedicated air handling unit — budget 80–100% of exhaust CFM in conditioned makeup air to avoid negative pressure that pulls in outside dust and makes the dining room cold. Confirm your service panel has enough breaker space and that gas piping is sized for simultaneous full-load operation of all connected appliances; a 2-psi gas system with point-of-use regulators often solves pressure drop problems in kitchen with long pipe runs.
5. Budget Allocation and Prioritization Timeline
Equipment procurement fails most often not because of total spend, but because of timing. Order a walk-in cooler at week 4 before opening and you will almost certainly delay your launch. The right approach splits the budget by category and ties each group to a delivery window counted backward from your target opening date.
| Category | Budget Share | Order Window (weeks pre-open) | Included Items |
|---|---|---|---|
| Refrigeration | 35–40% | 12–8 weeks | Walk-in cooler/freezer, reach-in coolers, blast chiller |
| Cooking & Ventilation | 25–30% | 12–8 weeks | Ranges, ovens, fryers, fire suppression, hood |
| Warewashing & Sinks | 8–10% | 8–4 weeks | Dishwasher, 3-compartment sink, booster heater |
| Food Prep | 5–8% | 4–2 weeks | Mixers, slicers, prep tables, scales |
| Storage & Shelving | 3–5% | 4–1 week | NSF shelving, dunnage racks, ingredient bins |
| Smallwares & Utensils | 5% | 2–1 week | Pots, pans, utensils, small countertop appliances |
For a Quick Service Restaurant, total equipment spend typically lands between $15,000 and $30,000. A full-service independent restaurant should plan $40,000–$80,000. High-volume commissaries or supermarket fresh departments regularly exceed $100,000. Secure partial payment terms with suppliers: 30% deposit with order, 50% upon shipment confirmation, and 20% after installation and commissioning. This structure protects cash flow and gives you leverage if a unit arrives damaged or out of spec.
Reserve 5–7% of the total equipment budget as a contingency for utility upgrades, unplanned code compliance fixes, or expedited shipping on a critical item. A power panel upgrade alone can consume $4,000 of that reserve without warning.
6. Certification, Compliance, and Supplier Selection
Health inspectors do not care about your grand opening date. They care about NSF/ANSI markings, commercial-grade construction, and backflow prevention. Include a certification verification step on your checklist for every piece of equipment that touches food or water. NSF 2 for food equipment, NSF 4 for commercial cooking appliances, and UL 197 or ETL-Sanitation marks are the minimum in most U.S. jurisdictions.
Your compliance mini-checklist should confirm: NSF or ETL-Sanitation listing visible on the data plate, approval for the intended use (cold holding must maintain 41°F or below, hot holding 135°F or above), proper air gap on sink drains, and a current fire suppression tag for the hood system. Many costly corrections — such as replacing a residential-grade prep sink with an NSF-compliant unit — vanish when the spec sheet is reviewed before ordering.
Supplier selection runs deeper than price. Evaluate three tiers: factory-direct manufacturers, regional distributors, and online resellers. Factory-direct sourcing from an integrated manufacturer can reduce middlemen markups by 15–25% and offers direct access to engineering support for custom voltage or sizing. Look for suppliers who can provide a complete package, including pre-shipment testing reports, on-site commissioning, and a written statement of warranty (typically 1–3 years on parts, 5 years on compressor). Ask about minimum order quantities, spare parts availability at their U.S. distribution hub, and whether they offer remote technical diagnosis within a 24-hour window. A supplier that cannot produce an NSF certificate for their own product line within one business day should be disqualified.
7. Maintenance and Spare Parts: Planning for the Long Run
Day 1 of operation is when the clock starts on component wear. A crisp startup checklist that omits spare parts procurement guarantees a scramble when the gasket tears on a Friday at 5 p.m. Smart operators treat spare parts as a line item in the capital budget, not an afterthought in the repair-and-maintenance line. The table below outlines the components that fail most often, their typical service life, and how many you should keep on the shelf per five units of equipment.
| Part | Typical Lifespan | Suggested Spares (per 5 units) | Replacement Cost (USD) |
|---|---|---|---|
| Door gasket (reach-in) | 2–3 years | 2–3 | $50–$150 |
| Thermostat / digital controller | 3–5 years | 1 | $80–$300 |
| Oven heating element | 2–4 years | 1 per oven | $150–$500 |
| Air-cool condenser fan motor | 5–7 years | 1 per 3 units | $100–$400 |
| Fryer basket | 1–2 years | 2 | $30–$80 |
| Compressor (refrigeration) | 8–12 years | Not stocked—replaced at failure | $500–$1,200 |
Factor warranty terms into your supplier selection: a 3-year full parts-and-labor warranty on refrigeration signals confidence in build quality and reduces your out-of-pocket cost for the first half of the equipment lifecycle. Schedule a preventive maintenance walkthrough every 90 days — clean condenser coils, check door latch tension, verify drain lines are clear — and you can push many of those lifespan numbers 20–30% further with no capital cost.
8. Final Checklist: Downloadable Summary
Use this condensed version as a commissioning and pre-opening punch list. It covers the major equipment groups, verification points, and procurement gates. Walk each line with your general contractor and equipment supplier two weeks before opening.
- Cooking: Gas/electric ranges, fryers, ovens, hood with fire suppression, last inspection tag dated within 6 months.
- Refrigeration: Walk-in panels sealed, reach-ins set at 38°F (cooler) and 0°F (freezer), NSF data plate photographed.
- Prep: NSF prep tables, slicer, mixer, adequate GFCI-protected outlets.
- Warewashing: 3-compartment sink with air gaps, dishwasher temp gauge reaching 160°F rinse, booster functioning.
- Storage: NSF shelving raised 6 inches off floor, all chemicals separated from food contact items.
- Utilities: Gas pressure verified at full load, electrical panels labeled, emergency shutoffs accessible.
- Supplier Documentation: Warranty certificates, spare parts list with supplier part numbers, installation manuals stored on-site.
Make a PDF version of this full checklist — including your custom equipment decisions, clearance diagrams, and maintenance schedules — part of your opening binder. When the health inspector asks for the unit’s temperature log and certification, you hand them a document that shows you planned every detail.
-
 Add.
Add.
Sales Center:Room 410, Floor T3-4, Zhonghai Development Building, No. 888, Kejiguan Street, Binjiang District, Hangzhou, Zhejiang,China
Factory Address:100 Meters South Of Zhongmao Village, Xingfu Town, Boxing County, Binzhou City, Shandong Province, P.R.China
Sales Center:Room 410, Building 15, Tianan Headquarters Center, 555 North Panyu Avenue, Donghuan Street, Panyu District, Guangzhou City, china
-
 Tel.
+86-15066977778+86-19012777577
Tel.
+86-15066977778+86-19012777577 -
 Email.
Quick Links
Product Fast Links
Mobile Terminal
Copyright @Hangzhou Eddysen Catering Equipment Co., Ltd.All rights reserved. Commercial Freezer Manufacturer